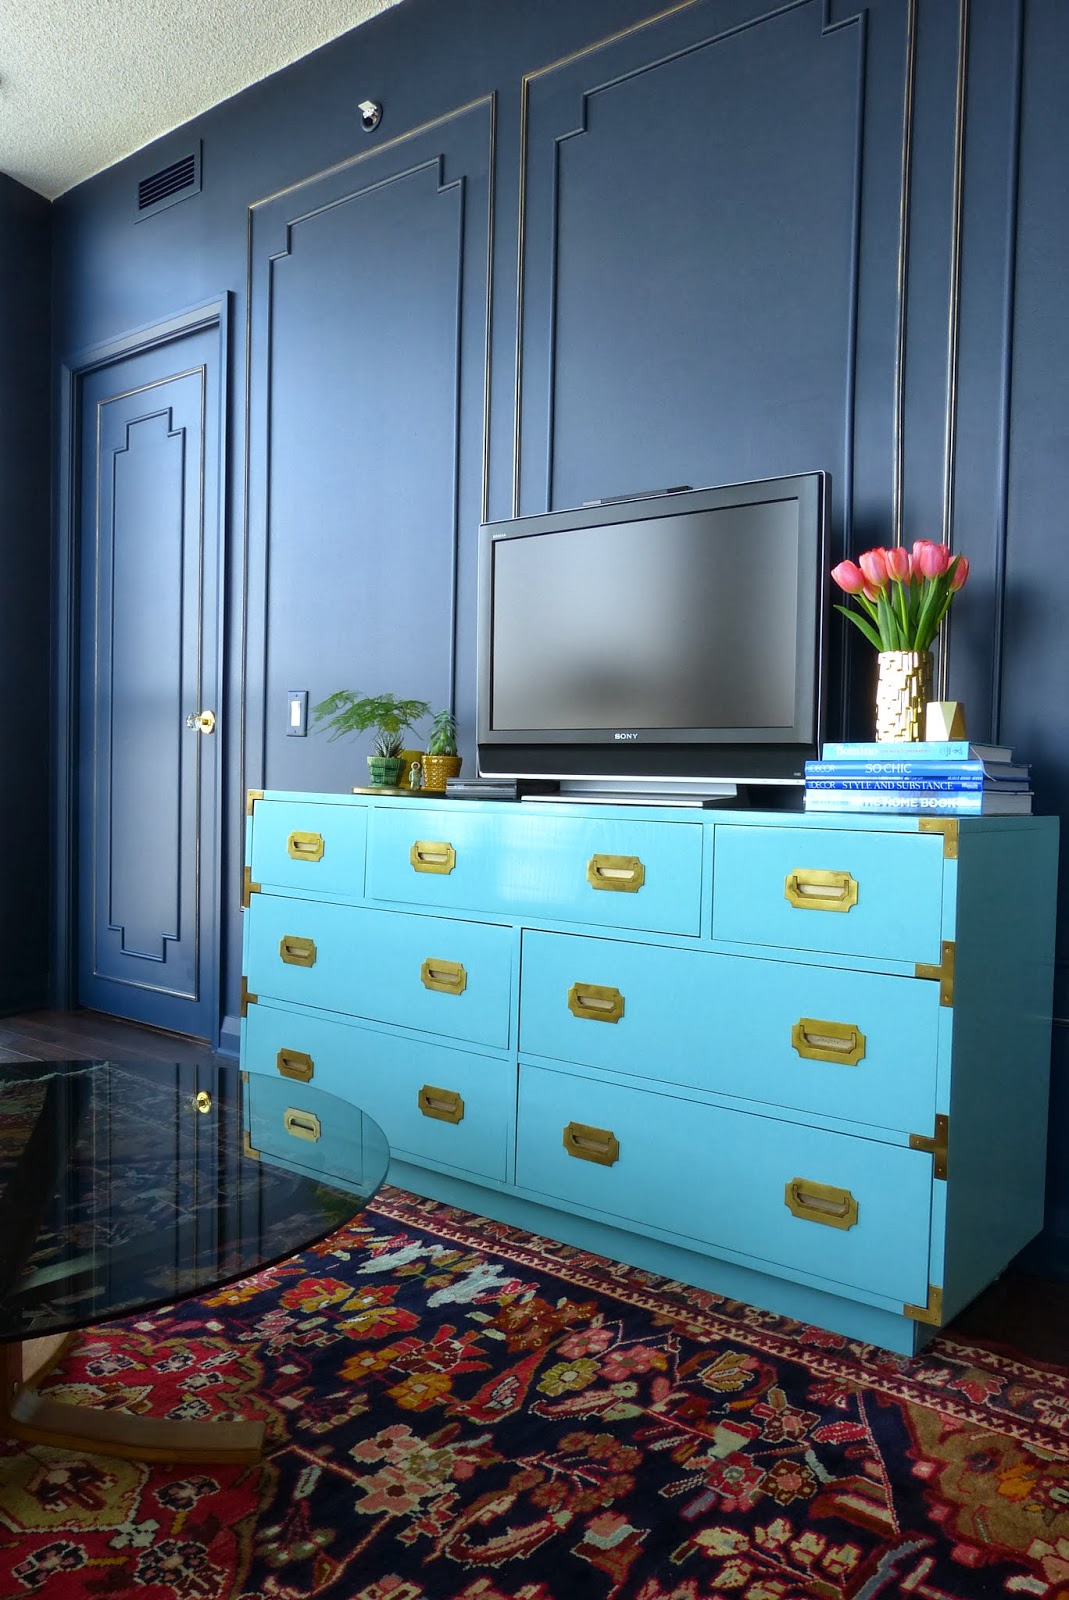
Last November I talked about adding architectural detail to the living room, calling it "Project Add Character", and in January I talked about how confident I felt that it would be my best DIY project to date. Well, folks, the living room is now done, and I couldn't be happier with the results. This really could be my favourite project so far - it looks amazing!!
Last month I revealed the dining room wall which received the same treatment. That wall was my starter project, where I added one large section of trim moulding just to get a feel for the method and level of difficulty. If you're looking for the step by step DIY tutorial, click on the "Adding Character With Wall Moulding" link in the right sidebar of Cherish Toronto. The living room wall is a serious transformation. What do you think?
Here is the "Before" shot:
And here is the "After":
Since I had to work around the air vents & sprinkler I chose to place the mouldings 12" from the ceiling and left the same amount of space at the bottom for balance. I used the same placement on the dining room wall so that both spaces are at a consistent level. I want to add crown moulding eventually, but I've heard that installation can be tricky so I may just leave that to the professionals. Currently up for debate is whether or not to return the paintings to this wall, and exactly where to place them. I can't decide if I like the idea of both of them stacked vertically within the frame to the left of the television. I'm looking for second opinions on this one.
Of course there are a few things I dislike, but which I cannot change - one being the white sprinkler head poking out at the top of the wall (never paint the sprinklers), and the other being the ugly white thermostat on the right. I tried switching it out for a NEST thermostat, but my HVAC wiring wasn't compatible with that system. Boo :( Maybe this Honeywell will work.
You may have noticed that I switched out the lever door handle leading into the master bedroom for a beautiful diamond crystal knob from Emtek hardware. Shout out to my buddy Frank for getting me wholesale pricing ;) It's all in the details, like the way the brass finish of the rosette picks up on the gold leaf detail on the moulding.
The hardest part of this whole project was painting the wall and trim - first coat on Saturday, second coat on Sunday (thank goodness it only needed 2 coats). I must have been up and down the ladder 237 times getting into every nook and cranny from the door trim to the vent cover to the baseboards. I love the look of painting everything out in one colour - it adds even more height to the 9 foot ceilings and reminds me of Parisian apartments.
Since this is an open concept space, I'm happy with the way the living room & dining room relate to each other with the same treatment on both walls. Now I'm struggling with how to create flow through to the kitchen and study nook beyond. It's always something, isn't it?
*Thank you to Para Paints for supplying the paint for this project. The wall colour is Marine Bay, P5156-75, in an eggshell finish.
**Thank you to Home Depot Canada for supplying the Ryobi cordless brad nailer for this project. I'm pretty sure it would have take a lot longer without this fabulous tool.